Link Your Local Meko to Meko Cloud

After reading my Run Meko Locally tip, Hari Krishna Sunder, Principal Engineer at YugabyteDB, pointed out a handy command I wanted to try:

				
					meko cloud-link


That earlier tip took us from a local installation to a working demo: upload a short release rule, connect Codex, and have a fresh session retrieve the rule through Meko. It was a useful way to see context travel from a document into an agent’s answer.

Hari’s suggestion takes that workflow a step further. You can link the Meko running on your computer to your Meko Cloud account, giving your local setup a way to work with cloud datapacks, too. Here’s how I linked mine, and what that changes.

💡 Picking up where we left off

This walkthrough starts with Meko already installed and running. If you followed Run Meko Locally, you can continue with that installation.

Why link a local installation?

The local demo gave my agent a release rule it could look up. Now imagine that rule belongs to a team. Other developers and their agents need access to the same instructions, and you want to manage who can read or contribute to that context.

That’s where a cloud datapack becomes useful. Your agents continue connecting to your local Meko, which routes requests according to where the selected datapack lives. Cloud datapacks provide the place to share context with teammates.

There’s one detail to understand before linking: existing local datapacks stay local, while new datapacks are created in Meko Cloud while the link is active. The local web UI documentation explains this behavior.

Part of the workflowAfter linking
Existing local datapacksRemain on your computer.
New datapacksAre created in Meko Cloud while linked.
Connected agentsKeep using local Meko to reach the selected datapack.
📍 Your existing demo stays where it is

The Canyon Gate document from the previous tip remains in its local datapack. Linking your account does not upload that document to Cloud.

Start with one command

On the computer running Meko locally, open a terminal and run:

				
					meko cloud-link


Meko offers two ways to connect:

				
					? How do you want to link Meko Cloud?
❯ 1) Sign in with your browser
  2) Enter an API key


The browser option opens a sign-in flow. In my run, the consent page asked whether to allow Meko to access Meko MCP and displayed the application, callback address, and requested scopes. Review those details before allowing access.

I started with that option, then canceled it and chose Enter an API key. That’s the path I completed below; you only need to complete one of the two options.

🌐 Prefer browser sign-in?

Browser sign-in is a supported alternative to pasting an API key. If you complete that flow successfully, continue to checking the connection.

Create a key for this installation

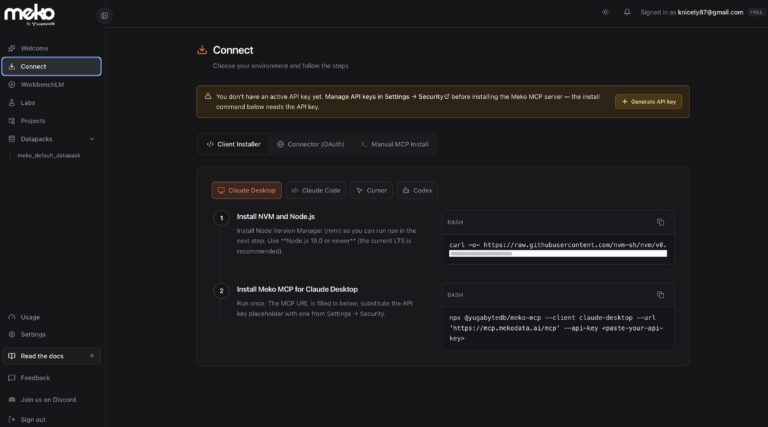
For the API-key path, I signed in to the Meko Cloud portal. The Connect page showed that my account had no active API key and offered a Generate API key button. In the interface I used, the banner also pointed to Settings → Security for managing keys. The current API-key documentation calls this area Settings → API Keys.

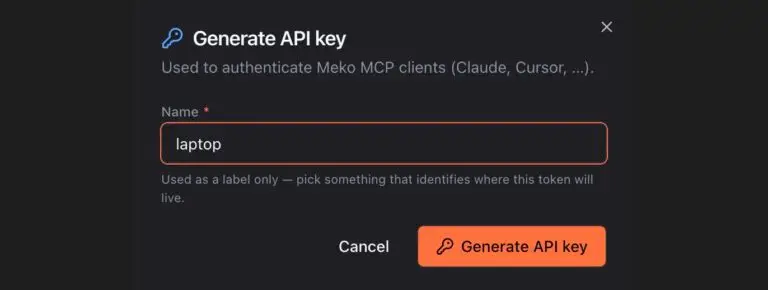
I clicked Generate API key and named mine laptop. That name is a label to help identify where the key is used.

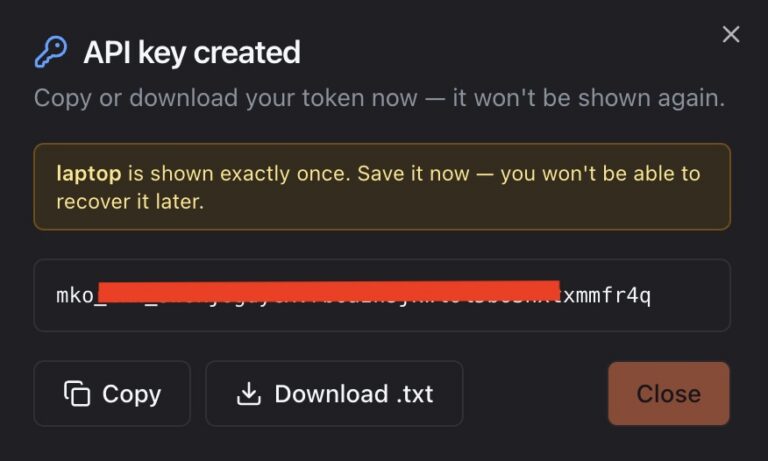
The next dialog displayed the token and offered Copy and Download .txt. It also explained that the token would only be shown once.

I copied it, returned to the terminal, and selected 2) Enter an API key.

Then I pasted the token at the interactive Meko Cloud API key prompt. You don’t need to put it into the command itself.

🔒 Keep the token private

Save the key securely when it is displayed. Keep it out of screenshots, blog posts, and source files. The terminal excerpts in this tip omit credentials and the temporary browser authorization URL.

Check the connection

After I entered the key, Meko confirmed the link. Here’s the relevant output, with the key identifier redacted:

				
					Meko Cloud API key:
✓ Linked to https://mcp.mekodata.ai/mcp (key [REDACTED])


That confirms the account-linking step completed. To explore the result, open the UI:

				
					meko ui


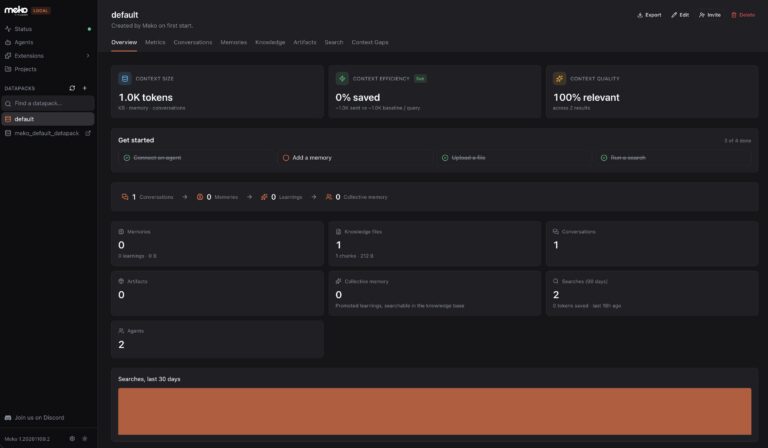
According to the web UI documentation, the sidebar includes cloud datapacks once linked. Selecting one opens it in Meko Cloud; selecting a local datapack lets you continue working with it locally.

This is also a good moment to check which datapack you’re using before adding more content. An existing local default datapack and a cloud datapack are separate stores.

🧭 Check the destination

A successful link gives local Meko access to your cloud account. To use shared knowledge, select the cloud datapack that contains it.

Put the link to work

With the connection in place, a useful next step is to create a datapack for a team’s working knowledge. Meko’s promote-and-share walkthrough uses this command after linking:

				
					meko-cli create_datapack team-notes


Open the new datapack in the cloud portal, add the material you want the team to use, and choose Share → Invite People to invite teammates with appropriate roles.

For our Canyon Gate example, that could mean adding the release-rule document to this cloud datapack, then asking an agent to search that specific datapack. That would extend the previous demo into a shared workflow. My completed test here was the account link; this is the next exercise to try.

If you later want to disconnect this installation, the command reference provides:

				
					meko cloud-link --off
				
			
💬 Give your agent a clear target

Once you’ve added the document, try: “Search the team-notes datapack in Meko for the Canyon Gate release rule. What must happen before opening a migration PR, and who approves the rollback log? Name the source document.”

Final thoughts

The previous tip showed that a fresh agent session could retrieve a release rule I had supplied through local Meko. This follow-up adds the connection needed to start using cloud datapacks from that same local setup.

What I like about this progression is that you can begin with a small, personal experiment and build toward a team workflow. A release rule that helped one developer can become shared context for the people working on the same project. The practical work is choosing what belongs in that shared datapack, adding it there, and giving teammates the access they need.

Thanks to Hari Krishna Sunder for pointing me to meko cloud-link. It’s a short command with a useful role:

  • connecting the Meko you already run to the cloud account where your team can work with shared context.
☁️ Ready to bring in your team?

Explore Meko Cloud and create an account to start building a shared context workflow.

Explore Meko  ·  Start Building

Have Fun!

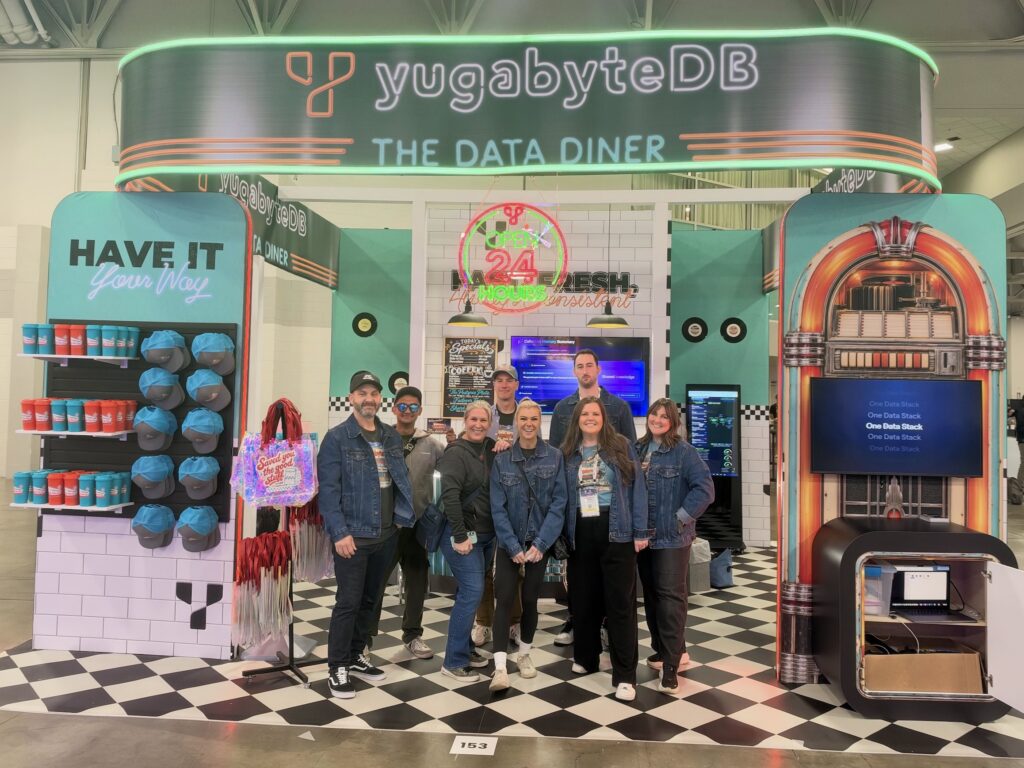
The Yugabyte Data Diner is open for business at KubeCon + CloudNativeCon North America 2026! 🙌

Stop by booth #153 or schedule a 1:1 meeting with the engineers and architects behind YugabyteDB, Meko, and YugabyteDB AMP! 🚀

Discover how ultra-resilient distributed PostgreSQL brings together zero downtime, strong consistency, and global scale while simplifying operations. Come see why organizations around the world trust YugabyteDB with their business-critical applications! 💡